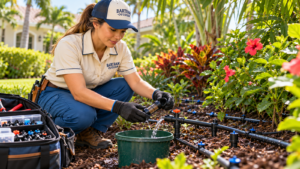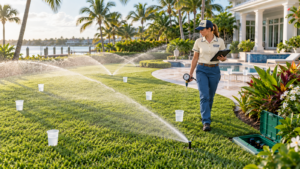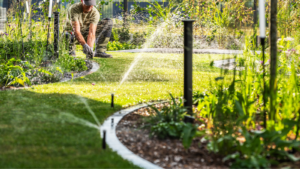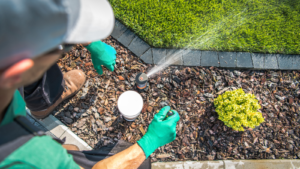
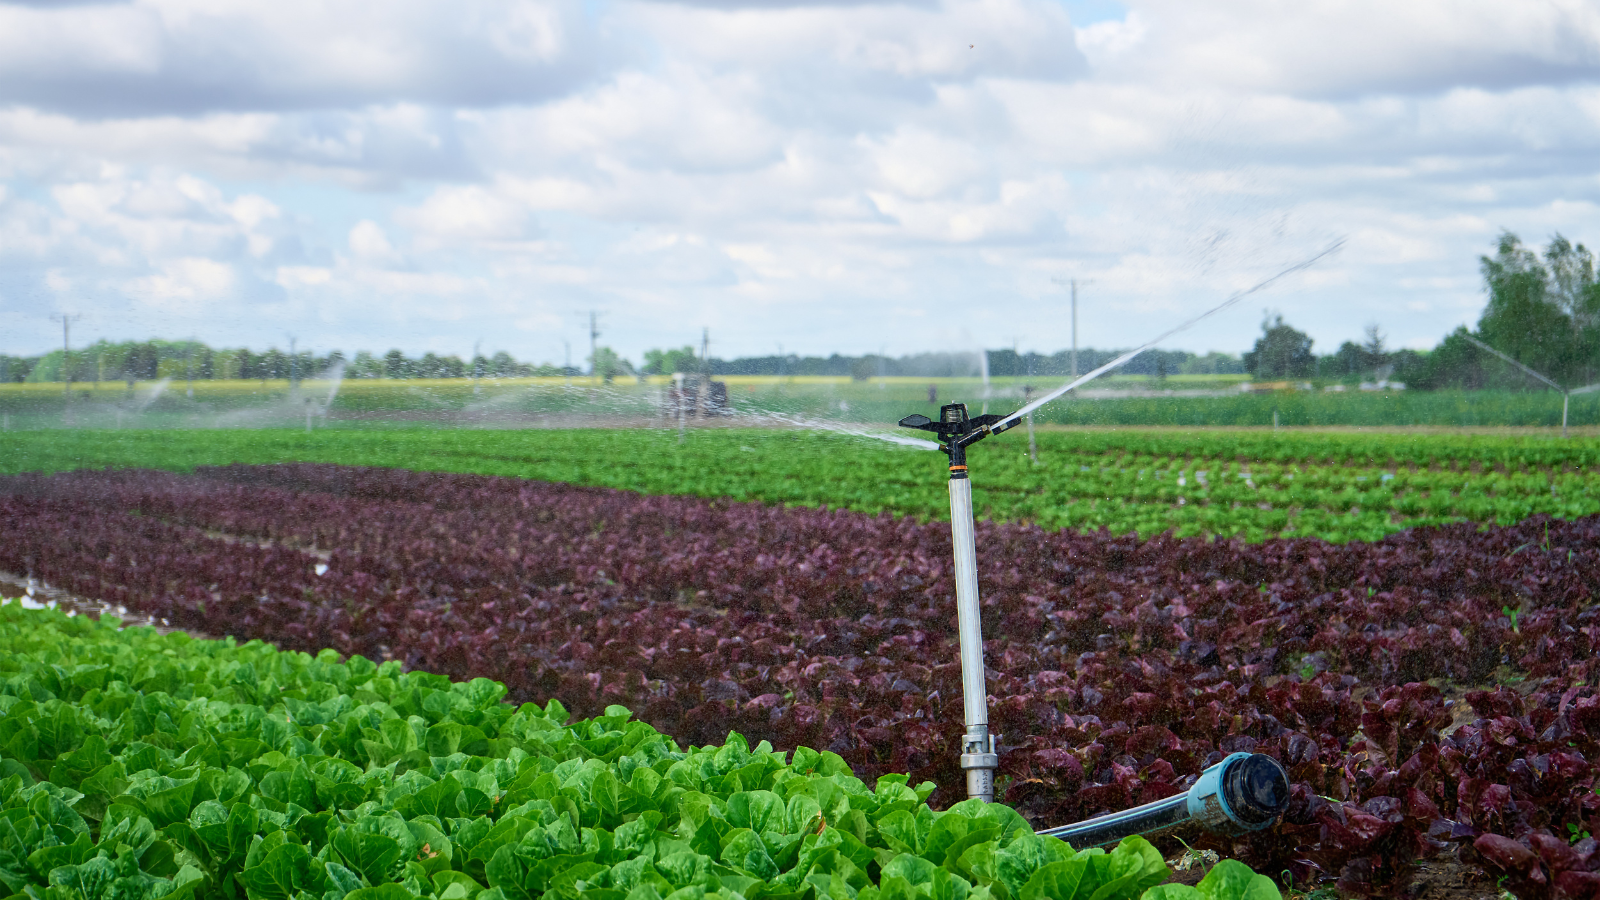
Traditional sprinkler heads can work well for lawns and other broad planting areas, but they may not be the most efficient option for every part of a South Florida landscape. Shrub beds, gardens, foundation plantings, and individual trees may benefit from a system that delivers water closer to their roots.
Drip irrigation is not simply a matter of attaching tubing to an existing sprinkler head. A successful conversion requires compatible components and a plan for distributing water evenly throughout the intended area.
Why Convert Sprinkler to Drip Irrigation?
Drip irrigation applies water gradually near plant root zones. Instead of spraying water through the air, it uses tubing and emitters to deliver controlled amounts to specific areas.
Homeowners may decide to convert sprinkler to drip irrigation to:
- Reduce overspray
- Limit water landing on pavement
- Deliver water closer to plant roots
- Improve irrigation in narrow beds
- Reduce evaporation
- Water individual plants more precisely
- Minimize wet foliage
- Update zones after landscape renovations
- Support gardens and container areas
- Improve control over water placement
The effectiveness of drip irrigation depends on proper design and maintenance. Incorrect emitter spacing, excessive pressure, clogged components, or inadequate filtration can create uneven watering.
Choose the Right Areas for Drip Irrigation
Not every sprinkler zone should be converted. Spray or rotating sprinklers may remain suitable for lawns and large areas requiring broad, even coverage.
Drip irrigation is commonly considered for:
- Shrub beds
- Flower beds
- Vegetable gardens
- Foundation plantings
- Trees
- Hedges
- Raised planters
- Narrow landscape strips
- Areas near walkways
- Plantings with limited access
Before deciding to convert sprinkler to drip irrigation, identify all plants served by the zone. If one valve waters both turf and planting beds, converting the entire zone could leave the lawn without appropriate coverage.
In some cases, the zone may need to be divided or redesigned so turf and planting beds operate separately.
Evaluate the Existing Sprinkler Zone
The first step is to inspect the current system. Run the zone and verify which sprinklers operate. Homeowners are sometimes surprised to discover that one zone waters several disconnected parts of the yard.
The evaluation should identify:
- Every sprinkler head on the zone
- The valve serving the area
- Available water pressure
- Current flow
- Pipe size and condition
- Leaks or damaged fittings
- Landscape boundaries
- Plant types
- Sun and shade exposure
- Soil and drainage conditions
- Other areas connected to the same zone
A complete inspection helps determine whether it is practical to convert sprinkler to drip irrigation using the existing valve and piping.
Understand Pressure Differences
Traditional sprinkler systems often operate at a higher pressure than drip components are designed to handle. Connecting drip tubing directly to an unregulated sprinkler line can damage emitters, separate fittings, and create inconsistent water delivery.
A conversion commonly requires a pressure-regulating component. The correct pressure depends on the tubing, emitters, and manufacturer’s specifications.
Signs of excessive pressure may include:
- Emitters blowing out
- Tubing separating
- Fittings leaking
- Water spraying from drip outlets
- Uneven delivery
- Premature component failure
Low pressure can also create problems. Plants near the water source may receive adequate irrigation while distant emitters deliver too little.
When planning to convert sprinkler to drip irrigation, pressure should be tested rather than estimated.
Add Proper Filtration
Drip emitters contain small openings that can become blocked by sand, soil, mineral buildup, or other debris. South Florida irrigation systems may draw from water sources that contain particles capable of clogging these outlets.
A suitable filter helps protect the drip system. The filtration level should match the emitter manufacturer’s requirements and the quality of the available water.
Filters also need periodic cleaning. A neglected filter can restrict flow and reduce watering throughout the zone.
Homeowners who convert sprinkler to drip irrigation should include filter inspection in their regular maintenance schedule.
Select the Appropriate Conversion Method
There are several ways to convert an existing zone. The best method depends on the system layout and landscape.
Use a Conversion Assembly
A conversion assembly may replace an existing sprinkler head or connect to the zone’s piping. It can include filtration and pressure regulation before water enters the drip tubing.
Modify the Zone Near the Valve
For larger planting beds, the system may be converted near the valve or main zone connection. This approach can provide better control over pressure and filtration throughout the entire drip area.
Cap Unused Sprinkler Outlets
Sprinkler heads that are no longer required must be properly capped or removed. Leaving abandoned risers or poorly sealed fittings can create leaks below the soil.
Create a Separate Drip Zone
If turf and planting beds share the same valve, creating a dedicated drip zone may offer better scheduling and system performance.
A professional can determine which approach is appropriate before attempting to convert sprinkler to drip irrigation.
Choose Between Dripline and Individual Emitters
Drip systems can distribute water through inline drip tubing or individual emitters.
Inline Drip Tubing
Inline tubing has emitters installed at regular intervals. It can work well for densely planted beds, hedges, ground cover, and rows of similar plants.
Individual Emitters
Individual emitters are installed near specific plants. They may be helpful for widely spaced shrubs, trees, containers, or areas where plant water needs vary.
Micro-Sprays and Bubblers
Some systems use micro-sprays or bubblers. These components deliver water differently from true drip emitters and must be selected carefully to avoid excessive runoff or mismatched application rates.
When homeowners convert sprinkler to drip irrigation, all outlets in the zone should be compatible enough to support predictable watering.
Plan Tubing and Emitter Placement
Drip tubing should be arranged so water reaches the active root areas of the plants. Placing an emitter directly against a stem or trunk may not provide suitable distribution and can keep the base of the plant unnecessarily wet.
Consider:
- Plant size
- Root spread
- Soil type
- Slope
- Emitter flow rate
- Emitter spacing
- Tubing length
- Pressure
- Future plant growth
- Mulch depth
- Maintenance access
Larger or established plants may require multiple emitters placed around the root zone. As plants grow, emitters may need to be moved or added.
The decision to convert sprinkler to drip irrigation should include a long-term plan rather than focusing only on the plants’ current size.
Adjust the Irrigation Schedule
Drip irrigation applies water differently from spray sprinklers. The old run time should not automatically remain in place after the conversion.
A drip zone may need a longer operating period because water is applied slowly, but the correct schedule depends on:
- Emitter flow
- Plant type
- Soil drainage
- Root depth
- Weather
- Recent rainfall
- Sun exposure
- Slope
- Mulch
- Local watering requirements
Homeowners should observe the soil after watering and make gradual adjustments. The goal is to reach the intended root zone without producing puddles, runoff, or constantly saturated soil.
After homeowners convert sprinklers to drip irrigation, the controller should be clearly labeled to show that the zone has changed.
Avoid Mixing Incompatible Irrigation Components
Spray heads, rotors, bubblers, and drip emitters may apply water at significantly different rates. Mixing them within one zone can make scheduling difficult.
If a zone contains both spray heads and drip tubing, the drip area may receive too little water when the sprays operate correctly. Extending the run time for the drip system may then cause the sprayed area to become oversaturated.
For consistent performance, zones should generally group components with compatible watering characteristics.
Before you convert sprinkler to drip irrigation, determine whether any traditional heads must remain active. If they do, a separate zone may be the most practical solution.
Flush the System Before Operation
New and modified irrigation lines may contain soil, plastic fragments, or installation debris. The tubing should be flushed before the ends are closed and emitters begin operating normally.
Flushing helps remove materials that could clog outlets. Flush points should also remain accessible for future maintenance.
After the system is assembled:
- Open the ends of the drip lines.
- Run water through the zone.
- Allow debris to exit.
- Close the lines with approved fittings.
- Check every connection.
- Observe each emitter.
- Repair leaks or uneven flow.
This step is essential when you convert sprinkler to drip irrigation using existing underground pipes that may contain accumulated debris.
Secure and Protect the Drip Tubing
Tubing should be secured with compatible stakes or fasteners so it remains in the intended position. Loose tubing may shift during landscape maintenance, heavy rain, or mulch installation.
Dripline may be covered with mulch when the manufacturer permits it, but it should remain accessible for inspection. Burying unsuitable tubing too deeply can make leaks and clogs difficult to locate.
Protect tubing from:
- Edging equipment
- Lawn mowers
- Shovels
- Animal activity
- Direct traffic
- Sharp landscape materials
- Excessive sunlight, when applicable
- Kinks and tight bends
A conversion is only successful if the system can be inspected and maintained after installation.
Maintain the New Drip Zone
Drip irrigation requires less visible spraying, but it is not maintenance-free. Problems may remain hidden because water is released slowly and close to the ground.
Inspect the zone for:
- Clogged emitters
- Disconnected tubing
- Leaking fittings
- Cracked lines
- Missing end caps
- Uneven plant growth
- Dry soil near emitters
- Oversaturated areas
- Roots restricting outlets
- Tubing displaced by landscaping work
Clean the filter and flush the lines according to the system’s needs. Homeowners who convert sprinkler to drip irrigation should manually run the zone periodically and examine every planting area.
Common Conversion Mistakes
Several mistakes can reduce the performance of a drip irrigation conversion.
Skipping Pressure Regulation
High pressure can damage tubing, fittings, and emitters.
Forgetting Filtration
Small particles can clog drip outlets and create dry areas.
Using the Old Sprinkler Schedule
Drip irrigation has a different application rate and requires new controller settings.
Mixing Sprays and Drip Emitters
Different application rates make it difficult to water both areas correctly.
Installing Too Few Emitters
One outlet may not cover the complete root zone of a large plant.
Ignoring Future Plant Growth
Tubing and emitters may need adjustment as roots and canopies expand.
Hiding Tubing Permanently
The system must remain accessible for flushing, inspection, and repair.
Failing to Cap Old Outlets
Unused sprinkler connections can leak underground if they are not sealed properly.
Professional planning can help homeowners convert sprinkler to drip irrigation without creating new coverage or pressure problems.
Follow Local Watering Requirements
Watering days and hours may vary by municipality, county, water management district, and current conditions. A drip conversion does not automatically exempt a property from applicable irrigation rules.
Homeowners should verify:
- Approved watering days
- Permitted watering hours
- New-landscape exceptions
- Irrigation testing allowances
- Repair-related exceptions
- Drought restrictions
Controller settings should be updated after the conversion and checked regularly.
When to Call an Irrigation Professional
Professional service may be appropriate when:
- The existing zone layout is unclear.
- Turf and planting beds share one valve.
- Water pressure is unknown.
- Several heads must be converted.
- The system has recurring leaks.
- Wiring or valves require modification.
- Coverage is uneven.
- A new zone may be necessary.
- The water source contains significant debris.
- The landscape has varied plant needs.
- The property contains large or complex beds.
An irrigation professional can calculate flow, select compatible components, install filtration and regulation, and program the controller for the new system.
Convert Sprinkler to Drip Irrigation With Bartram Outdoor
Converting an existing sprinkler zone can improve water placement in gardens, shrub beds, hedges, and other planted areas. However, the project requires more than attaching tubing to a sprinkler riser. Pressure regulation, filtration, emitter selection, zone compatibility, controller programming, and ongoing maintenance all matter.
At Bartram Outdoor, we help homeowners throughout Palm Beach County and Florida’s Space Coast evaluate irrigation systems and landscape watering needs. Our team can inspect the existing zone, identify connected areas, test system performance, and recommend an appropriate conversion method.